Conquering the Throne, A Guide to Toilet Installation and Preventing Water Leaks
A functional toilet is a cornerstone of any comfortable home. But when faced with installation or a pesky leak, this throne room essential can transform into a source of frustration. This guide will equip you with the knowledge to confidently tackle both toilet installation and water leak prevention, ensuring a smooth and stress-free bathroom experience.
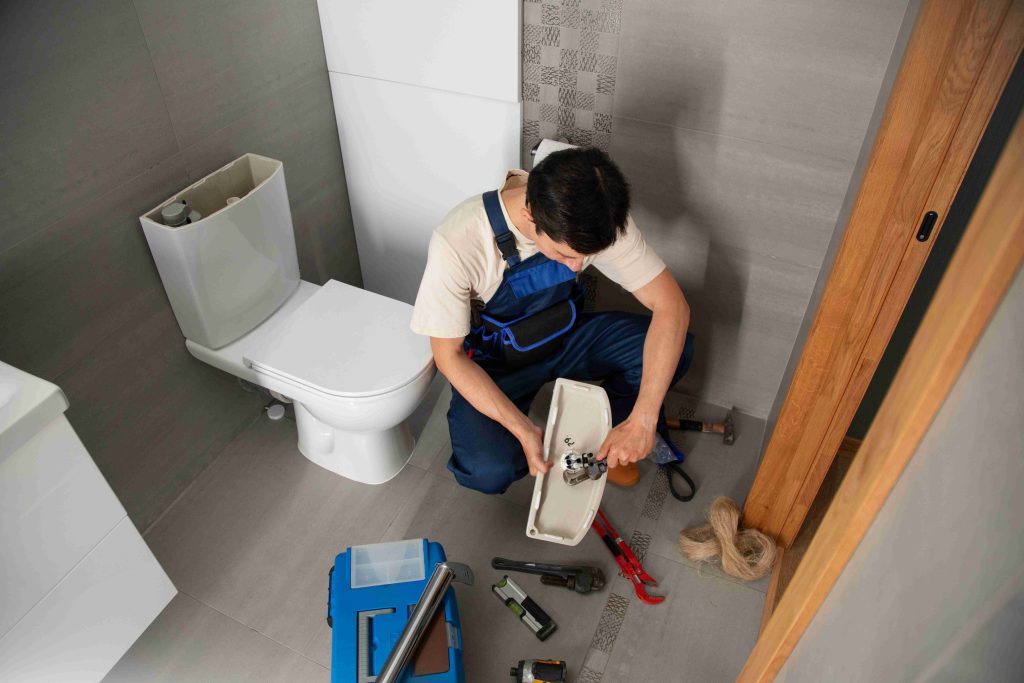
Installing Your Throne, A Step-by-Step Guide
Before diving in, gather the necessary tools: adjustable wrench, pliers, screwdriver, bucket, sponge, wax ring (or flange), closet bolts and caps, and of course, your new toilet.
- Turn Off the Water Supply: Locate the shut-off valve behind the toilet and turn it clockwise until the water flow ceases. Flush the toilet to remove any remaining water in the tank.
- Disconnect the Old Toilet: Using the wrench, disconnect the water supply line from the shutoff valve. Disconnect the fill valve hose from the tank. Then, using the wrench or pliers, loosen the closet bolts securing the toilet to the floor flange. Carefully rock the toilet back and forth to break the wax ring seal.
- Caution: Wear gloves and be prepared for any residual water.
- Prepare the Floor Flange: Clean the floor flange thoroughly, removing any old wax ring debris or corrosion. If the flange is cracked or damaged, it’s crucial to replace it before proceeding.
- Install the Wax Ring: Position the new wax ring centered on the floor flange.
- Pro Tip: For an extra layer of security, apply a light coat of petroleum jelly around the base of the toilet where it meets the wax ring.
- Set the New Toilet: Carefully lower the toilet onto the flange, ensuring the closet bolts align with the holes in the toilet base.
- Tip: Gently guide the toilet to avoid damaging the wax ring.
- Secure the Toilet: Hand-tighten the closet bolts with the nuts and washers provided. Don’t over-tighten, as this can crack the toilet base.
- Reconnect the Water Supply: Reattach the water supply line to the shutoff valve and the fill valve hose to the tank. Ensure all connections are secure and use leak tape if needed.
- Turn On the Water Supply: Slowly open the shut-off valve and check for leaks at all connections.
- Double Check: Look for leaks around the base of the toilet, the tank-to-bowl connection, and the water supply line. Tighten any loose connections if necessary.
- Test and Finalize: Flush the toilet to test for proper function and check for leaks again. If everything seems good, tighten the closet bolt caps for a finished look.
Preventing Pesky Leaks, Common Culprits and Solutions
Even with the best installation, water leak can still occur. Here’s how to identify and address common culprits:
- Leaking At the Base: This often indicates a faulty wax ring seal. You’ll need to remove and reinstall the toilet with a new wax ring.
- Leaking Around the Tank Bolts: Over-tightening the closet bolts can crack the toilet base. Tighten only until snug.
- Leaking From the Tank: A faulty flapper valve or fill valve inside the tank can be the culprit. Replace the worn-out parts with readily available and inexpensive toilet repair kits.
- Leaking From the Water Supply Line: Cracked or loose hoses or connections at the shutoff valve are common causes. Replace damaged hoses and tighten loose connections.
Conclusion
With a little planning and the steps outlined above, you can tackle toilet installation with confidence. Remember, preventing leaks is key to maintaining a functional and water-efficient bathroom. So, empower yourself with this knowledge and keep your throne room leak-free.


-
How does an online casino structure its progressive jackpot network?
Progressive jackpot networks operate across multiple layers, and the structure behind them ... -
-
-
-